Textile Art Commission

Hogweed in yellows and grey

For me, one of the lovely things about doing a commission is that I find myself working on something which is not what I would have chosen. The colours might not be my first choice, so I am introduced to a palette that I wouldn’t otherwise have considered. The size might be such that it presents its own problems, but then that allows me to see a different potential for my own future work.

I have recently completed a piece featuring my hogweed design which is over eight feet long, maybe not the biggest picture ever, but my biggest to date, and in shades of grey and silver, with yellow and limey green, a combination that I have not used before.

My first step was to find all the right fabrics. This ended up being a mix of linens, cottons, silks and synthetics. I then made a couple of small sample pieces incorporating all the fabrics. This was so that the client could see how the colours and fabrics look together, and how they would work within their room.
Once confirmed, these sample pieces were then kept to be made into cushions, and I was able to start on the picture.

Alex 3 arranging shapes (2).jpg

Laying out all the pieces, creating the composition is usually something I do on my dining table. For this one I had to clear floor space.. . my floors have never been kept so clean!

Once the main shapes were attached and stitched, I was able to handle the piece more easily to add the more detailed features.

The actual machining was an interesting task. I found it best to use two tables, side by side, to take the length, and the weight of the fabric.

Once it was finished and stretched, I made the frame. The mount was painted with the client’s own paint (therefore perfect for the room), and I mixed a darker shade of grey for the frame.

So, job done, cushions put together, and delivery was made.

Another lovely thing about doing a commission for someone, is realising how spot on they were about the colours and the size... It was a few weeks before I saw the picture hanging in its place. It really couldn’t have been a better fit!

They don't make them like they used to (2)

(More from my collection of old Singer sewing machines)

Fast forward 26 years to the next machine in my collection. I bought this one to fill the early 20th century gap. I already had one from the 1880s, the 1920s and 30s and a couple of post war models.So I thought I should really have one from this era too. 

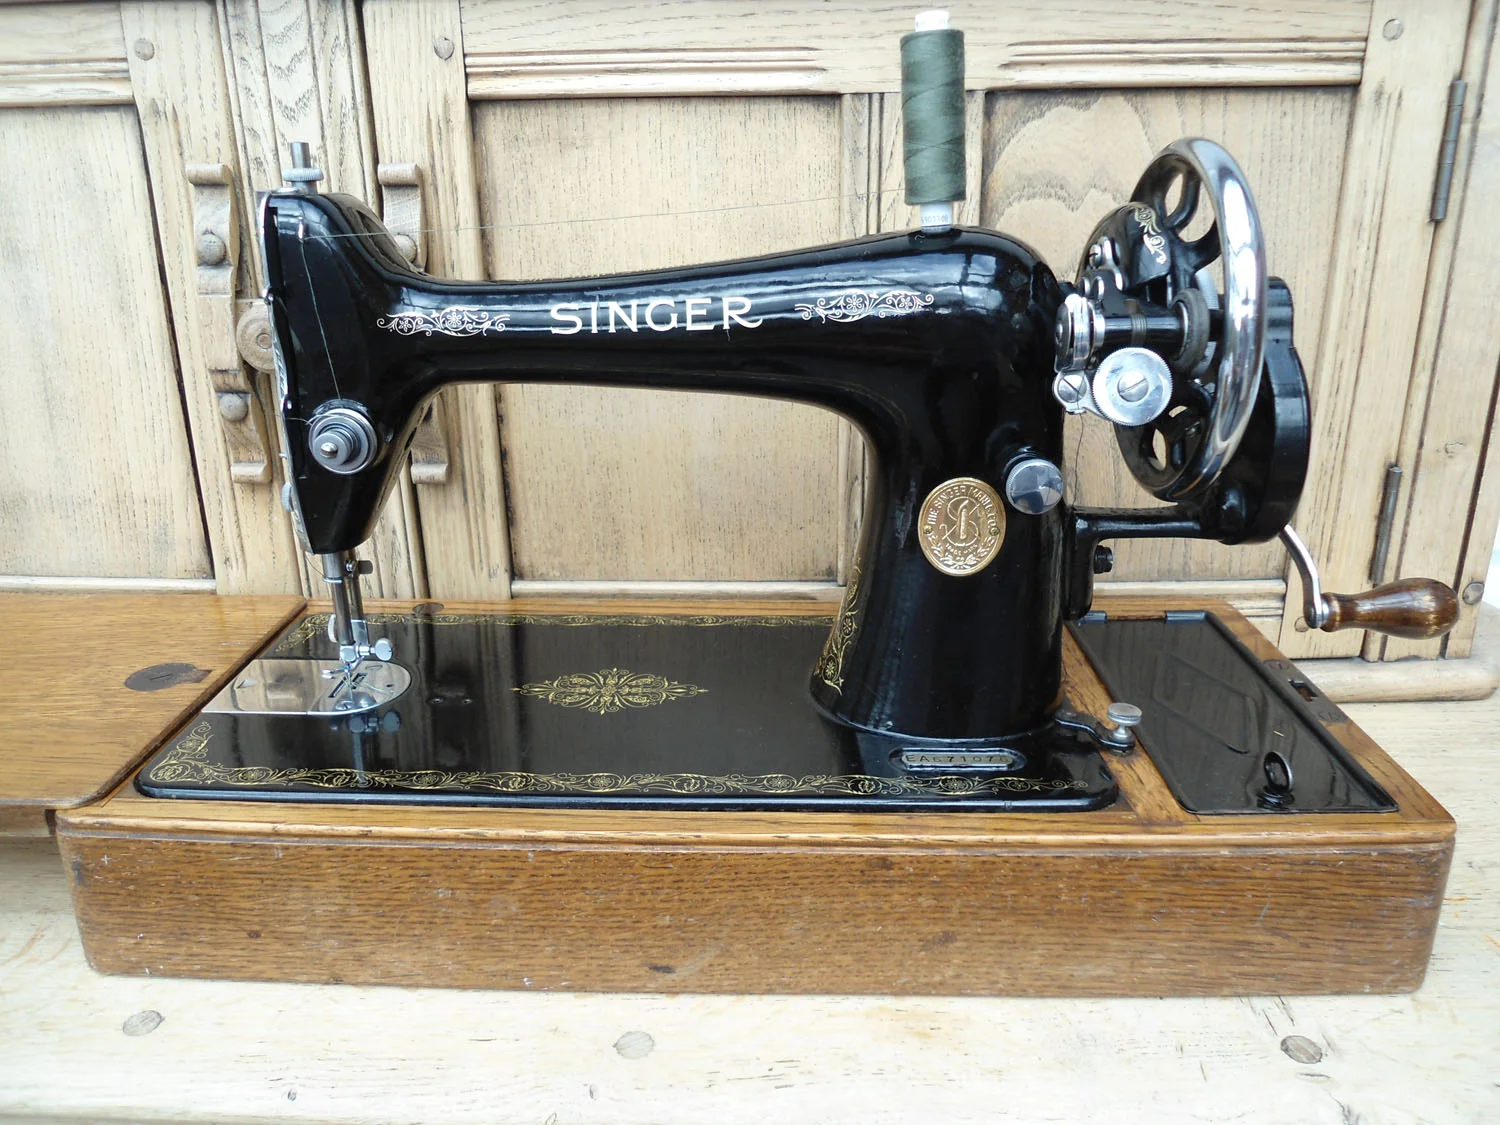
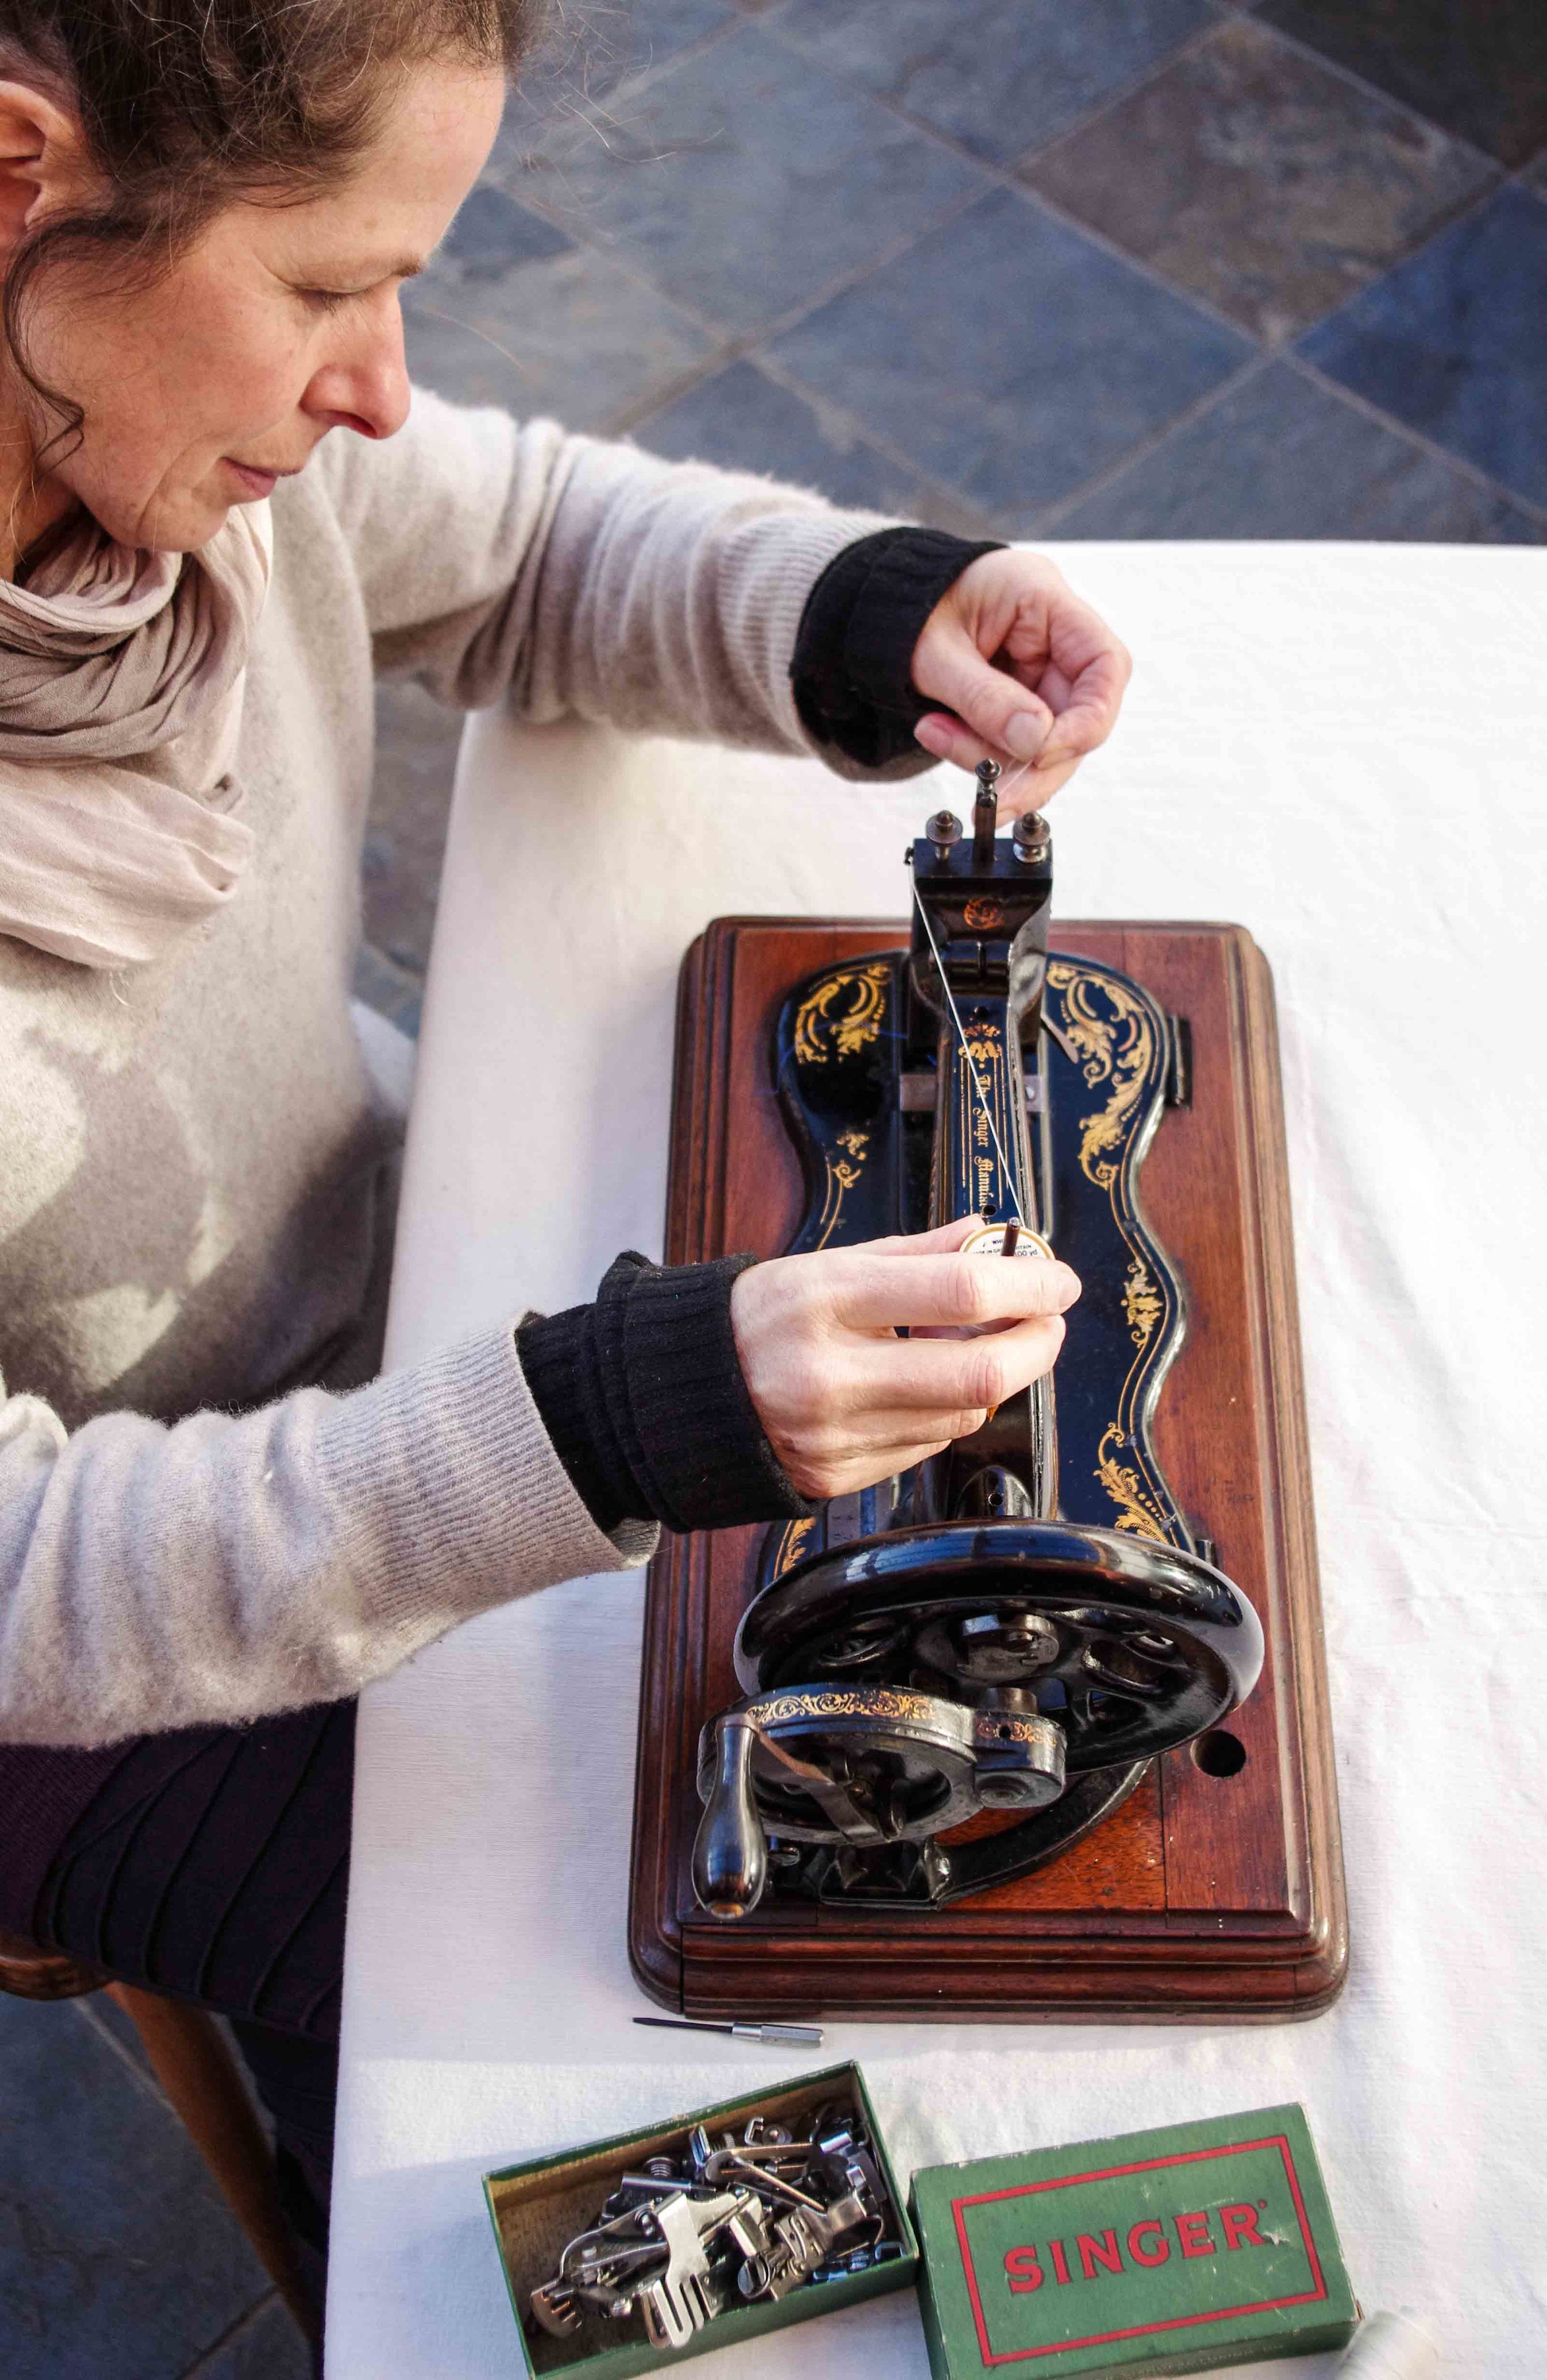
Singer 28 k. Hand cranked sewing machine from Helen Poremba's studio

A hand cranked model 28 K, first introduced by Singer in 1886. This one was made some time between January and June in the year 1907, in Kilbowie, Scotland.

The 28 K was one of the first Singer machines which could be fitted with a motor. Initially they were hand cranked, or belt driven with a treadle, but later models also had fixing points for a motor.  (The start of a whole new era for the sewing machine.)

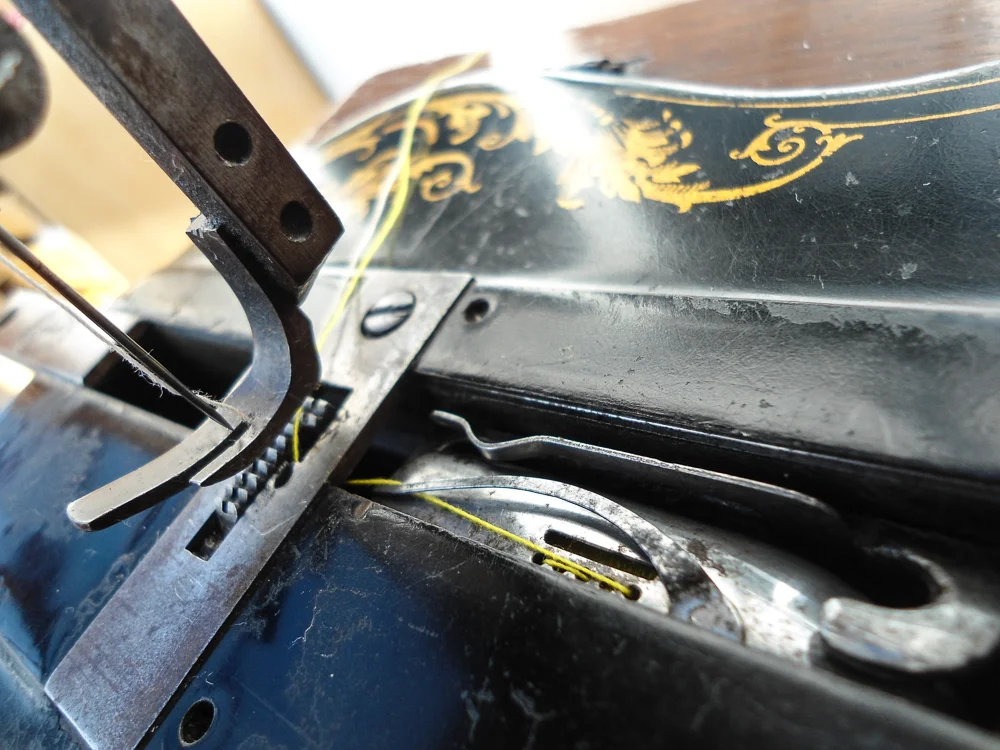
Singer 28 k. Oscillating shuttle

The boat shuttle in this model swings backwards and forwards from one pivot point. This is the oscillating (or vibrating) shuttle, which replaced the transverse shuttle used in earlier models. The oscillating shuttle was smoother, required less mechanical moving parts, it was therefore quieter, and could stitch faster.


Singer 28 k. Bobbin winding mechanism

Another design modification was the winding mechanism for the bobbin on the 28 k. It is situated low down, near the base of the machine and is driven directly from the rim of the drive wheel. Unlike the model 12, this one has a clever little device which holds and directs the thread while it winds, so that the bobbin fills evenly. I love that you can see just how this mechanism works. Clever and beautifully simple.


Singer 28 k. Coffin lid wooden box

It also has a lovely wooden box to house the machine. This style of box was known as the ‘coffin lid’ case.

(At one time the Kilbowie factory, where this machine was made, employed 2,000 cabinet makers to make the boxes and bases for the machines.)

To find out all sorts of stuff about Singer and sewing machines, the Sewalot website is full of interesting information.  www.sewalot.com 

They don't make them like they used to...

I would like to introduce you to my collection of sewing machines.

I first learnt to sew on a hand operated Singer machine. My Granny did loads of sewing on her Singer treadle machine, and I loved to use that too.  My Mum had an old Singer which had been converted to electricity. I have a great appreciation for something well made, and, maybe I’m biased, but I believe that old Singer sewing machines are the epitome of something well made.

So I have acquired, and hung on to a few of them.

Normal
0


false
false
false

EN-GB
JA
X-NONE


 <w:LatentStyles DefLockedState="false" DefUnhideWhenUsed="true"
DefSemiHidden="true" DefQFormat="false" DefPriority="99"
LatentStyleCount="276">
…

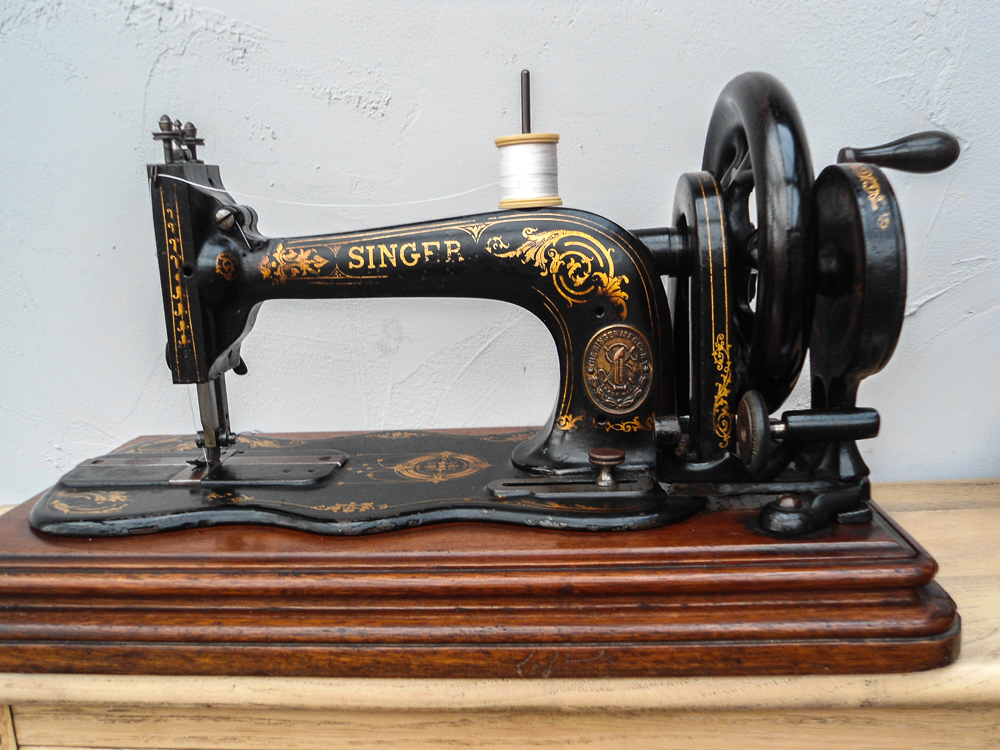
The Singer model 12(Or the Singer ‘New Family’)  (Or the Singer ‘Fiddle Base’)

Normal
0


false
false
false

EN-GB
JA
X-NONE


 <w:LatentStyles DefLockedState="false" DefUnhideWhenUsed="true"
DefSemiHidden="true" DefQFormat="false" DefPriority="99"
LatentStyleCount="276">
…

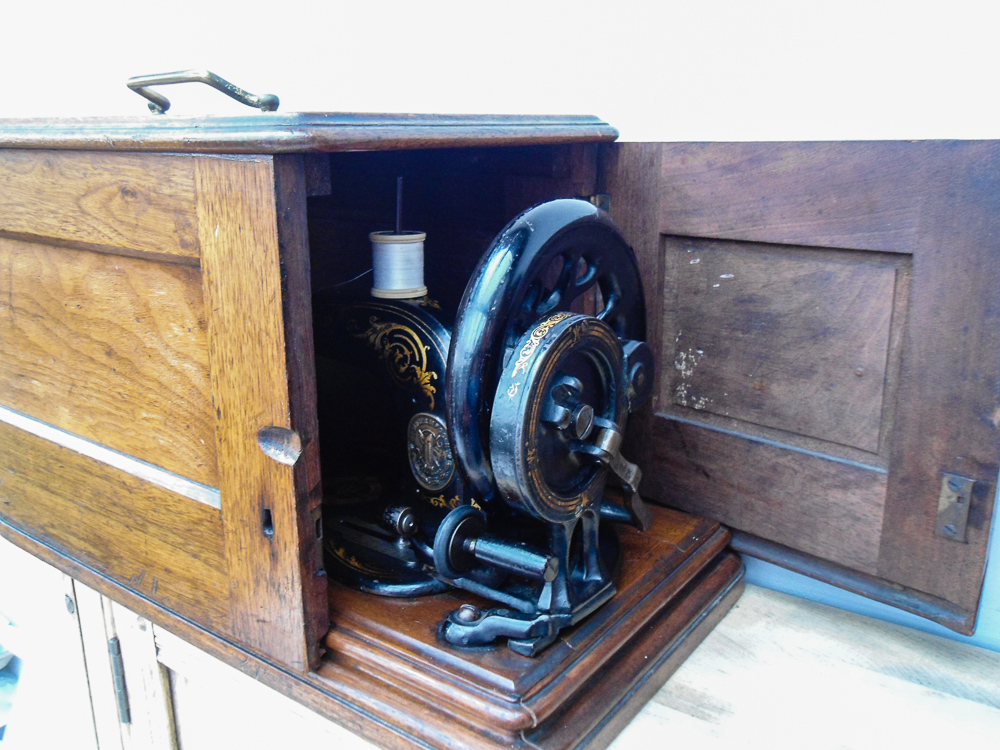
Even the box is a lovely thing. The end opens, and the top slides off along the grooved base.


Normal
0


false
false
false

EN-GB
JA
X-NONE


 <w:LatentStyles DefLockedState="false" DefUnhideWhenUsed="true"
DefSemiHidden="true" DefQFormat="false" DefPriority="99"
LatentStyleCount="276">
…

The bobbin is placed in the winding mechanism, and is wound by turning the crank while also releasing the thread by hand.


v\:* {behavior:url(#default#VML);}
o\:* {behavior:url(#default#VML);}
w\:* {behavior:url(#default#VML);}
.shape {behavior:url(#default#VML);}


Normal
0
false


false
false
false

EN-GB
JA
X-NONE


…

The bobbin is placed into the ‘boat’ shuttle. The thread is then threaded through a series of slots and holes to obtain the correct tension. The more times it is threaded backward and forwards through the holes in the side, the higher the tension will be.

v\:* {behavior:url(#default#VML);}
o\:* {behavior:url(#default#VML);}
w\:* {behavior:url(#default#VML);}
.shape {behavior:url(#default#VML);}


Normal
0
false


false
false
false

EN-GB
JA
X-NONE


…

The shuttle in place.  As the machine stitches, the shuttle passes through the loop of thread made by the needle to create each stitch.


Normal
0


false
false
false

EN-GB
JA
X-NONE


 <w:LatentStyles DefLockedState="false" DefUnhideWhenUsed="true"
DefSemiHidden="true" DefQFormat="false" DefPriority="99"
LatentStyleCount="276">
…

A perfect stitch every time!.

Helen Poremba Textile Artist using her vintage sewing machine

When I acquired this machine it was in a pretty bad way.  I spent time cleaning and oiling it and getting everything moving again. It now runs like a dream, and stitches amazingly. I love to work out the controls on an old machine like this. Nothing much has changed over the years, but there are always a few new (or old!) techniques to learn about. The main difference between this, and other machines that I have used, is the winding mechanism for the bobbin, and the transverse shuttle.

The model 12 was first marketed in 1865, and remained in production for over 40 years. Its very reliable design meant that it was sold in very high volumes, and was the machine that really established Singer as the market leader. This one was made in 1881. (135 years old!!) I have read that when the Singer New Family was first produced, it cost the equivalent of a year’s wages.  Many people would have bought these through an instalment payment scheme, over a period of ten years. (I bought this last year on Ebay for around £40.00!)

If you have an old Singer, and want to know when it was made, look for a serial number on the base of the machine. Every one made by the Singer Manufacturing Company has a number. Find out more information about this on the Sew A Lot website - www.sewalot.com.

Exhibition - Flat Cat Gallery

A selection of my work is currently on show at The Flat Cat Gallery in Lauder on the Scottish Borders. Part of a group exhibition which is on until the end of February.

Helen Poremba Textile Artist - Flat Cat Gallery Exhibition - Hogweed
Helen Poremba Textile Artist - Flat Cat Gallery Exhibition - Daisies

Winter Beauty

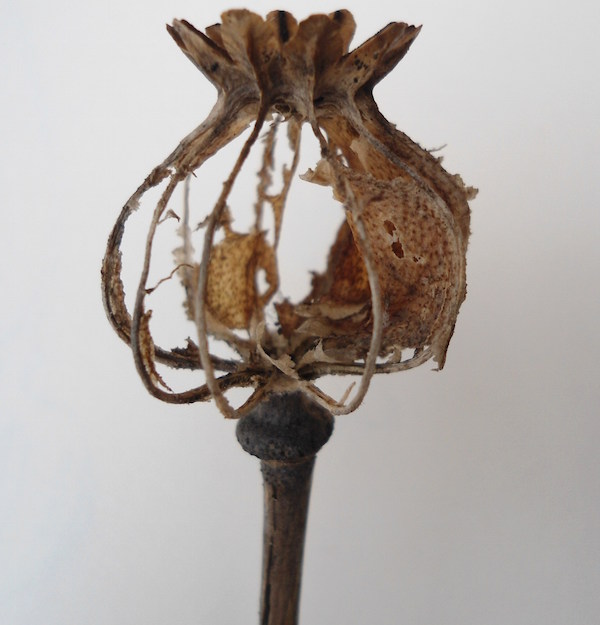
So it’s December. The gardens are no longer full of blooms, and most of the foliage is either gone, lying underfoot or way past its best. But there are still some great little treasures out there. I especially like all the seed heads and leaf skeletons, found now that all the coverings are disintegrating.

I love to see the underlying structures. These old poppy seed heads have done what they came to do (I’m sure that they will have supplied me with a great crop for next year), but I haven’t finished with them yet! I want to study them, photograph them, draw them, make cut outs, use the cut outs as stencils and maybe some samples in fabric. I may never use these in a finished work, but they will be there in my sketchbook, pages of possibilities.  

A Different Kind Of Commission

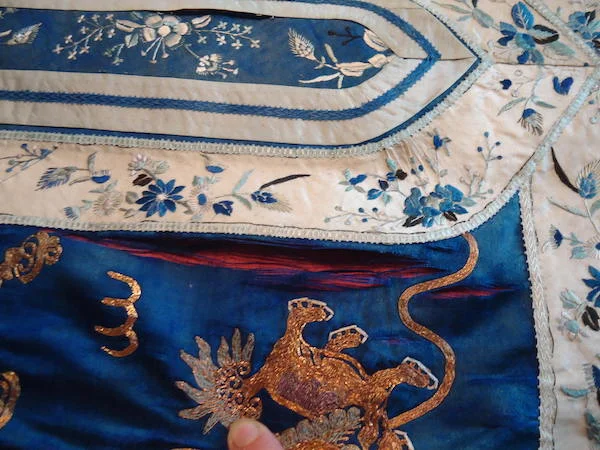
The silk panel - showing how the fabric was falling apart.

The silk panel - showing how the fabric was falling apart.

Usually I get to work on a commission when someone has seen my work, and they want something similar, but with a few changes. So I will rework my design create something in a different shape, size or colour. Or someone might ask for a piece which depicts a particular favourite plant. 

During the Art Tour of 2014, one visitor, after seeing my work and discussing some of the techniques I use, asked whether I might be able to rescue a very old piece of textile that she had. This piece was a silk panel, brought back from China, by one of her ancestors, many years before. It had been displayedas a wall hanging, but was currently, in a state of disintegration, rolled up at the back of a cupboard. Although I am not a restorer of fine fabrics, we agreed that I would use the processes I am familiar with to do the best I can. 

The finished piece.

The finished piece.

The silk panel was literally falling apart. Many areas were badly disintegrated. Although the colour hadfaded a bit, it was still a beautiful blue, but so fragile that every time I touched it, my hands would pick up some of the blue colour and I guess, fragments of fibres too. 

The first thing I did was to carefully unpick the red cloth which was stitched to the back of the silk, and lay the whole piece out to assess what could be done. I removed any loose threads and excess fabric from the reverse side, and then bonded the whole thing onto a new piece of cotton fabric.

I used Bondaweb for this, making sure to keep the iron as low as possible so as not to damage the silk. Once this was done, I stitched through both layers where it wouldn’t show to further secure the silk.  I was then able to stretch the new cotton fabric over a board, in the same way that I do my work, with no fear of the silk being further stressed. 

When I removed the excess fabric from the back of the silk panel, there were two tiny bits of the border fabric that had been folded to the back. I returned these to the client. She then came up with the idea of incorporating these scraps in other pieces which could hang with the main panel.

Taking a tiny flower on the border pattern as a starting point, I came up with a motif to then develop into a design. Colours and fabrics were chosen to match the colour of the original silk and colours in the space where the pictures were to hang. Likewise, the mounts and frames were painted to match surrounding paintwork.